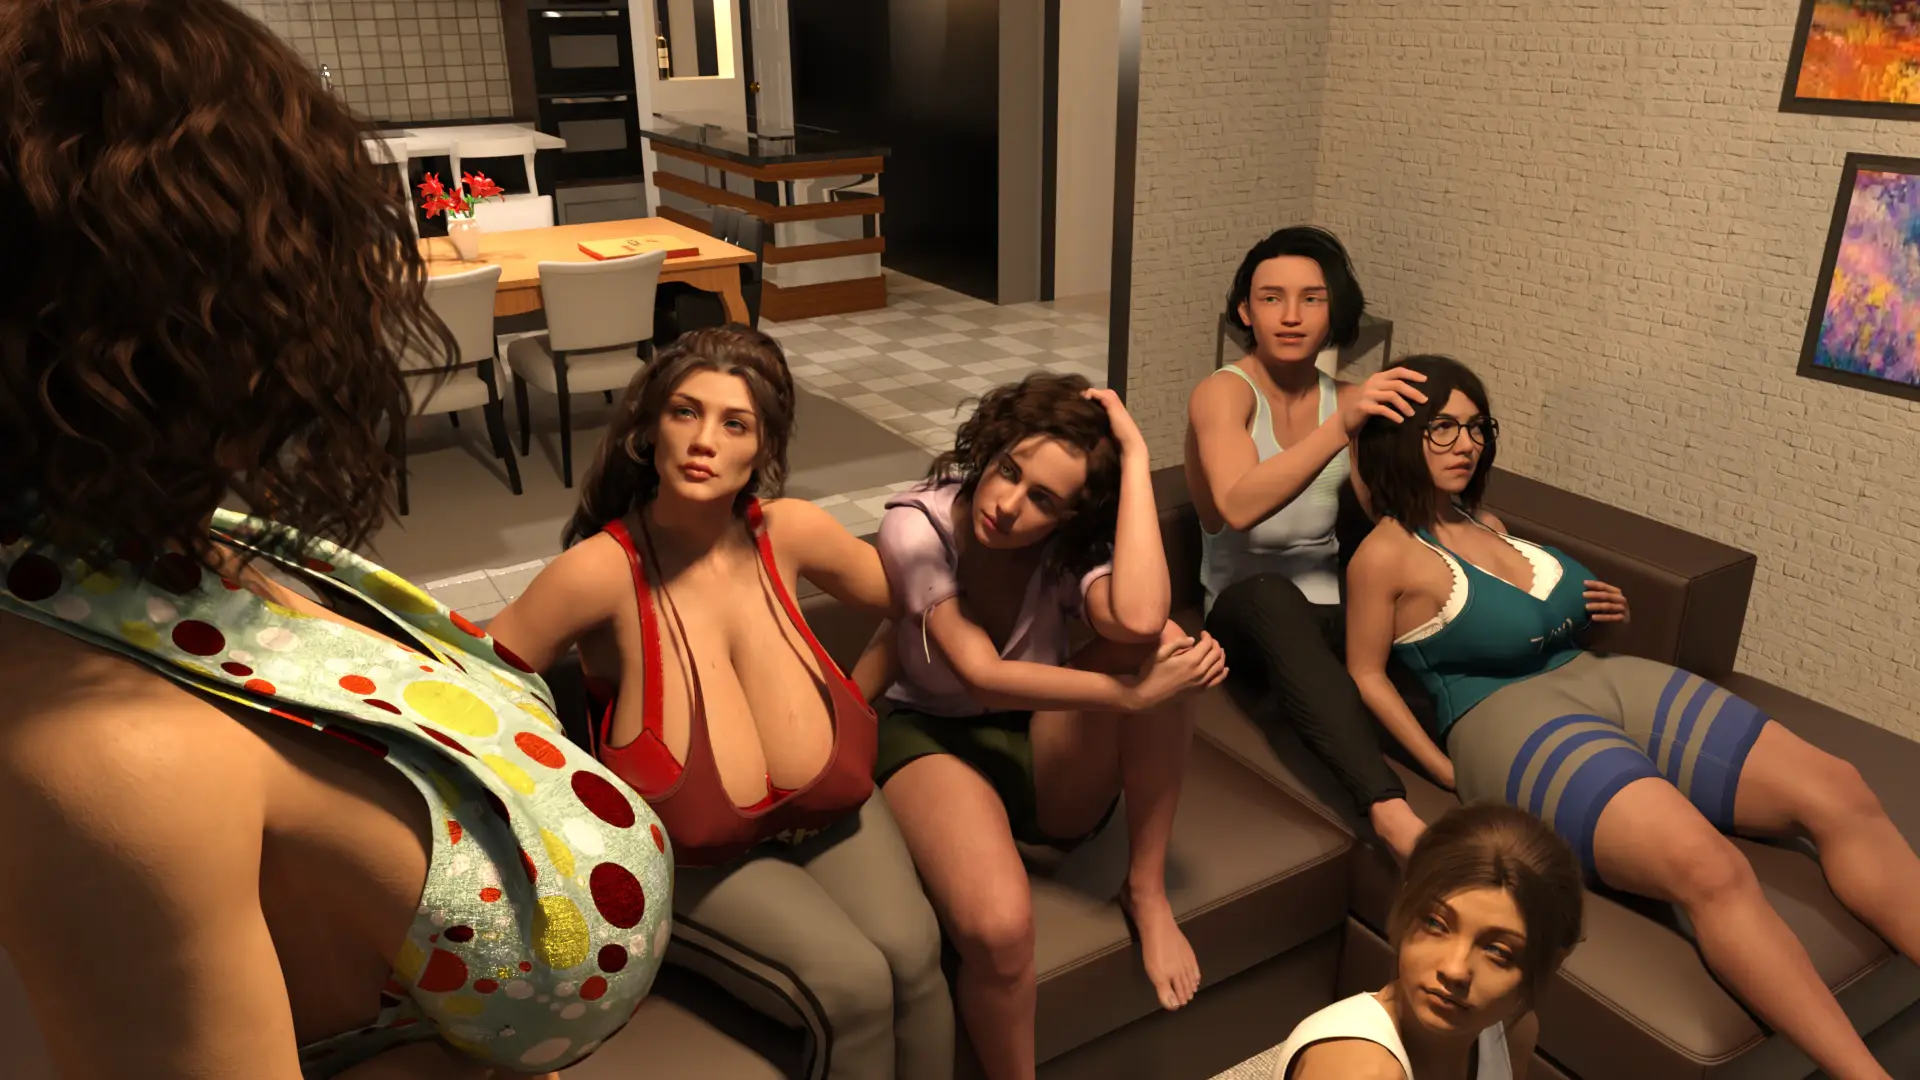
在你和你的双胞胎妹妹艾玛的 18 岁生日派对结束后,你的母亲让你们坐下来,给你读了首封来自你已故父亲的重要信。
核心特色
- 沉浸式游戏体验
- 精美的视觉效果
- 丰富的游戏内容
- 多平台支持
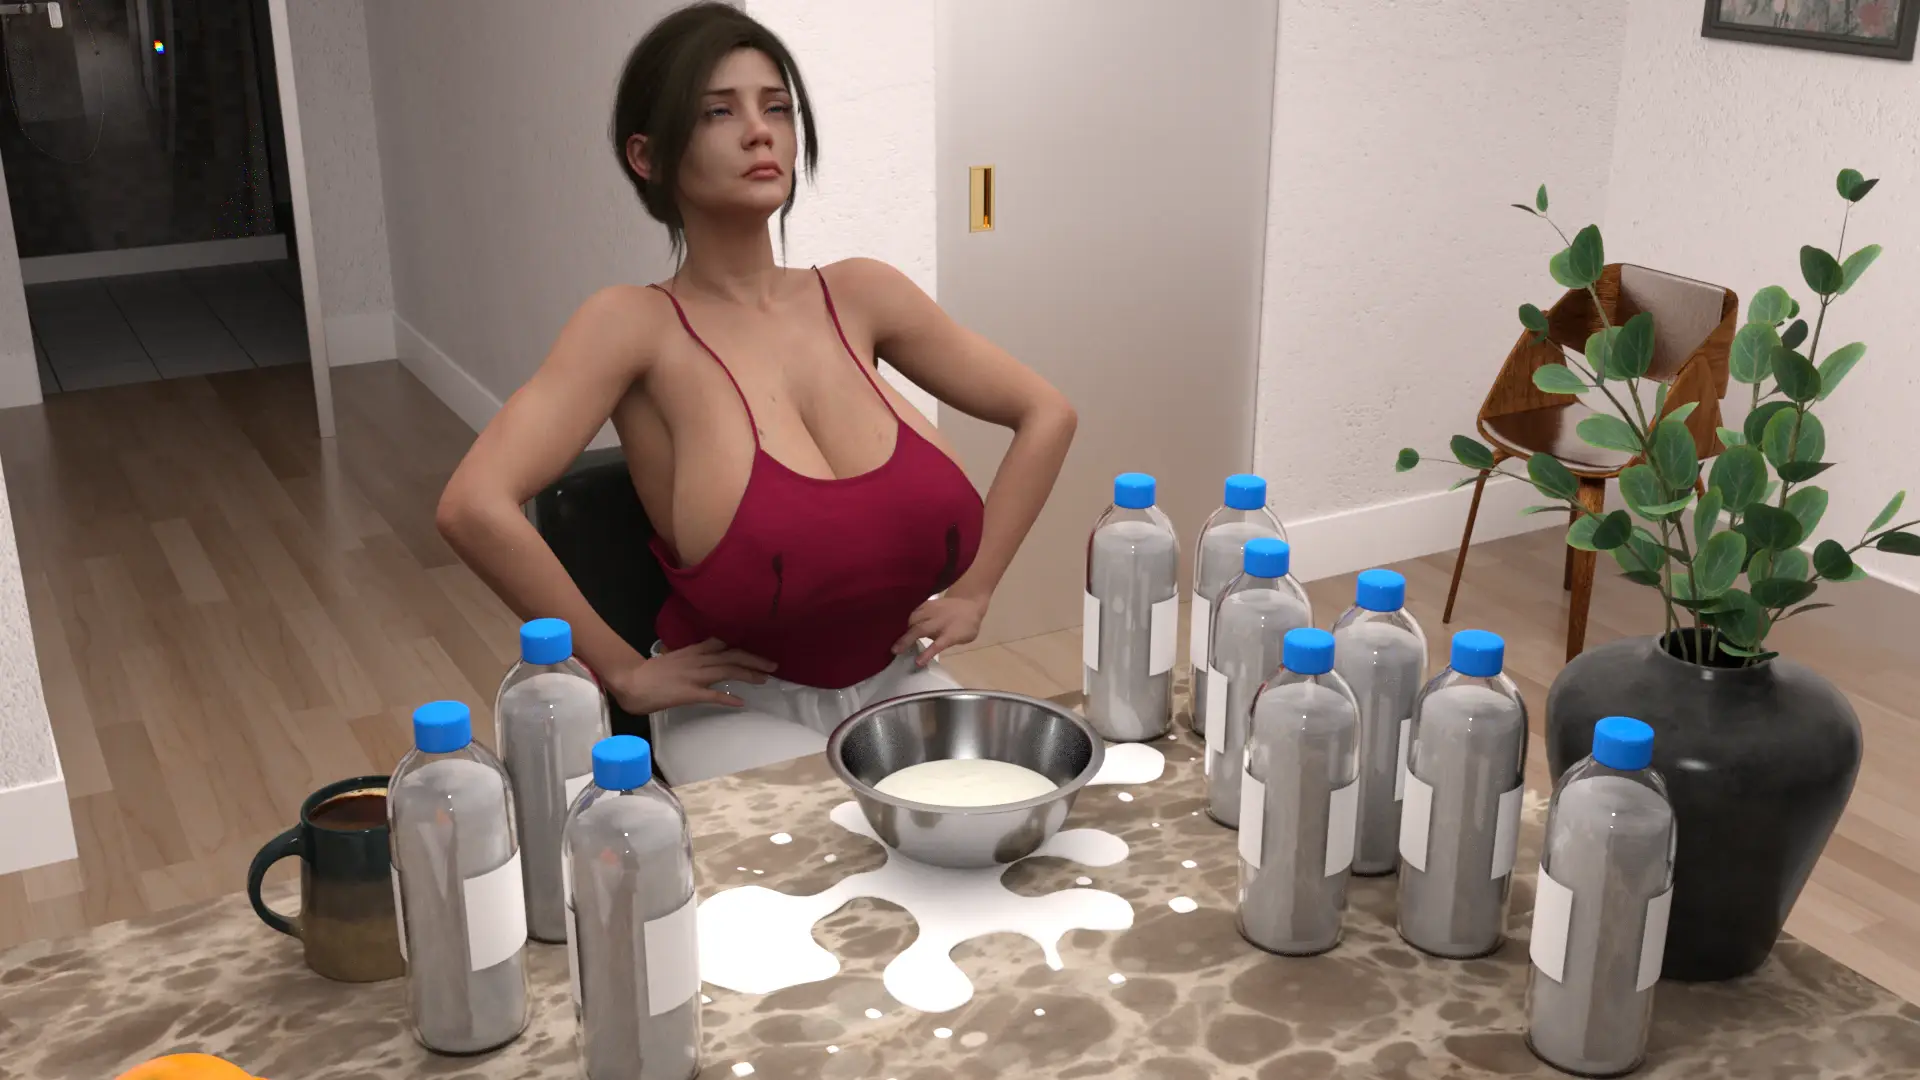
在你和你的双胞胎妹妹艾玛的 18 岁生日派对结束后,你的母亲让你们坐下来,给你读了首封来自你已故父亲的重要信。
这封信的组成将久远改变你的家庭动态。你了解到你有唯独……独特的遗产™(呵呵)。但请注意,因为其他人可能会利用它。变更日志:作者尚未传递变更日志


立即开始你的游戏之旅